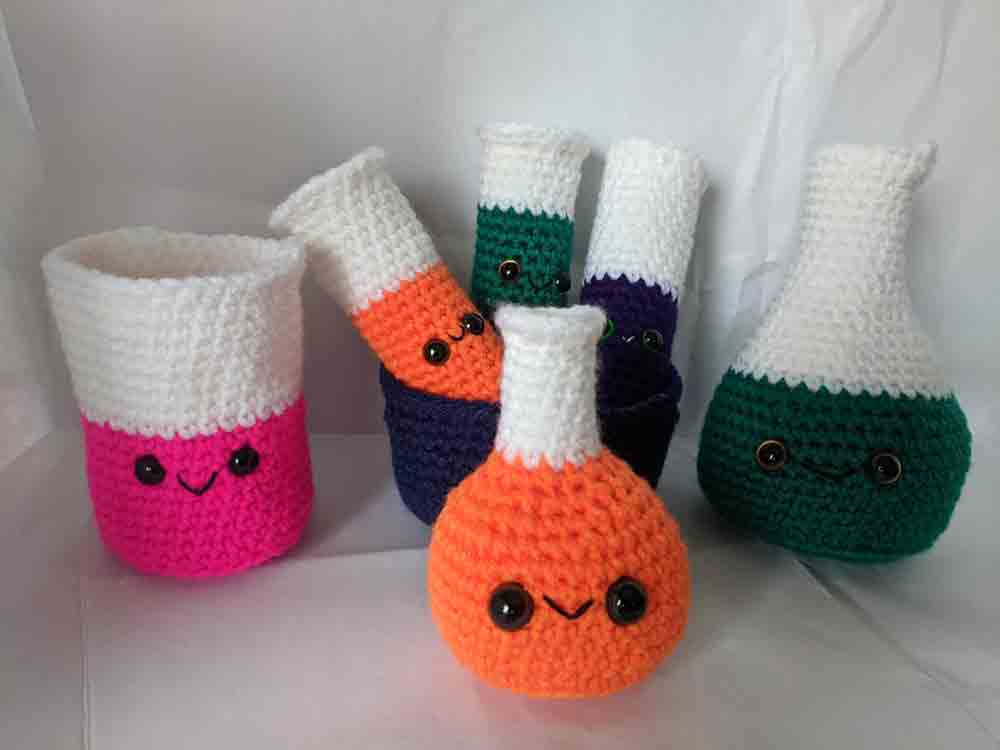
I recently started making Amigurumi, small crocheted stuffed toys. Years ago, I saw a set of amigurumi chemistry paraphernalia on Pinterest somewhere. I was a chemist at the time, and thought it was adorable and wanted the set for my desk at work. I pinned it and regularly went back to it to admire and wish someone were selling a completed set on Etsy or somewhere, though I never did find one. I had hoped that my crafty sister-in-law who loves making amigurumi dolls would make it, but it’s really not her taste of the type of amigurumi she likes to make. So when I started crocheting my Afghan of Forever again I finally decided that I was going to do it. Even though I was intimidated by the concept of amigurumi, I was going to learn how and make myself my own set!
Because I am, at heart, a researcher, my first step was to do research (who-da-thunk-it?). I found the chemistry set pattern online for $14. It was written by Lauren Espy of A Menagerie of Stitches and the pattern contains all the information for a set of test tubes, a pair of beakers, Erlenmeyer flasks, Florence flasks, Bunsen burner, and how to make the test tube holder and ring stands. I read reviews about the best yarns to use for amigurumis and why. I dug into safety eyes and poly-fill and magic rings and thought I was prepared.
Then I splurged and bought the pattern. After doing my yarn research, I decided to get Tivoli brand acrylic from hobbii.com because I could get smaller (50 g) skeins of DK/light worsted weight yarn for about $1.50 a skein in a bunch of colors. I needed about 10 colors for the chemistry set and another 2 for a Porg I wanted to make, and another 5 for some fruit patterns I found and so I decided to get about 30 colors all together so I could make whatever I wanted. My mother-in-law heard I was going to make some amigurumi and gave me an entire bag of polyfill she’d gotten for cheap at Savers. I found a multi-pack of different sizes of safety-eyes on Amazon, and picked up some black and silver embroidery floss and needles at my local Michael’s.
And then I was ready to begin!
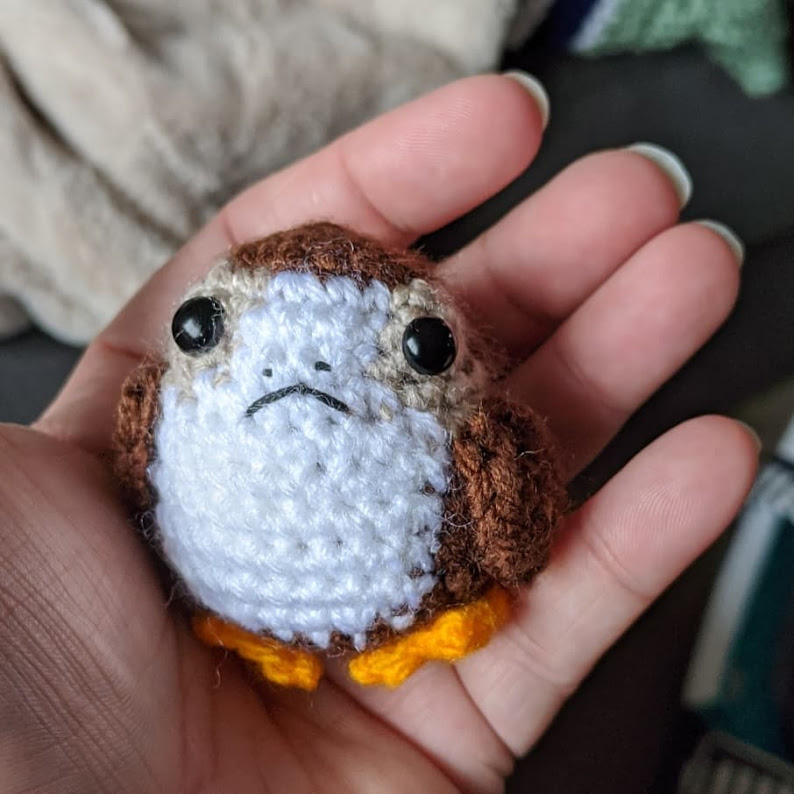
I actually started with the Porg pattern (found here at The Geeky Hooker’s website) and made one of those first. Since I was using a smaller weight yarn (DK instead of worsted) it wound up being very small. Like the size of a chicken’s egg. It was also fairly difficult because of all the color changes and limbs to be sewn on. It wasn’t really the best thing to make a first amigurumi with, but it turned out adorable even if it was lopsided.
After making the Porg, I moved on to the first beaker pattern in the chemistry set. It was far easier, with one color change to make and a cap to sew in. The directions in the pattern are amazingly clear, and I wish I had used this pattern for my first amigurumi. The directions are explicit, the surfaces are mostly flat, there are great pictures to explain what to do, and the pattern is relatively easy. My first beaker turned out pretty great.
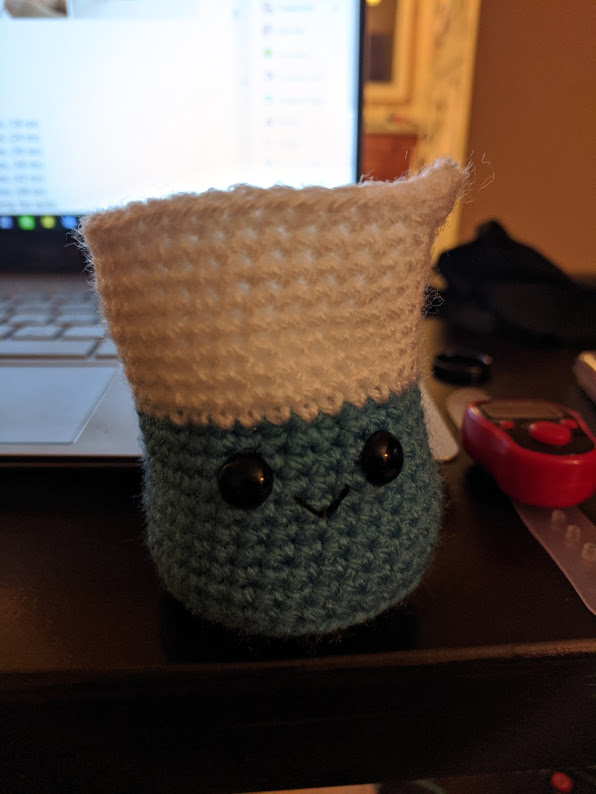
I think the beaker is absolutely adorable, and very tiny. It’s only about 2 inches tall, and I think I’m going to make the rest of the set in this size. But lately I’ve been making up quarantine care packages, and one of the recipients has a toddler, so I wanted to make a chemistry set in about the size they’re supposed to be. I’ve seen patterns calling for using 2 strands at a time, so I decided to try that. After doing (more) research, I found tips on crocheting with 2 strands, and one that recommended using both the center pull and outer thread when you need to use 2 strands from the same skein of yarn.
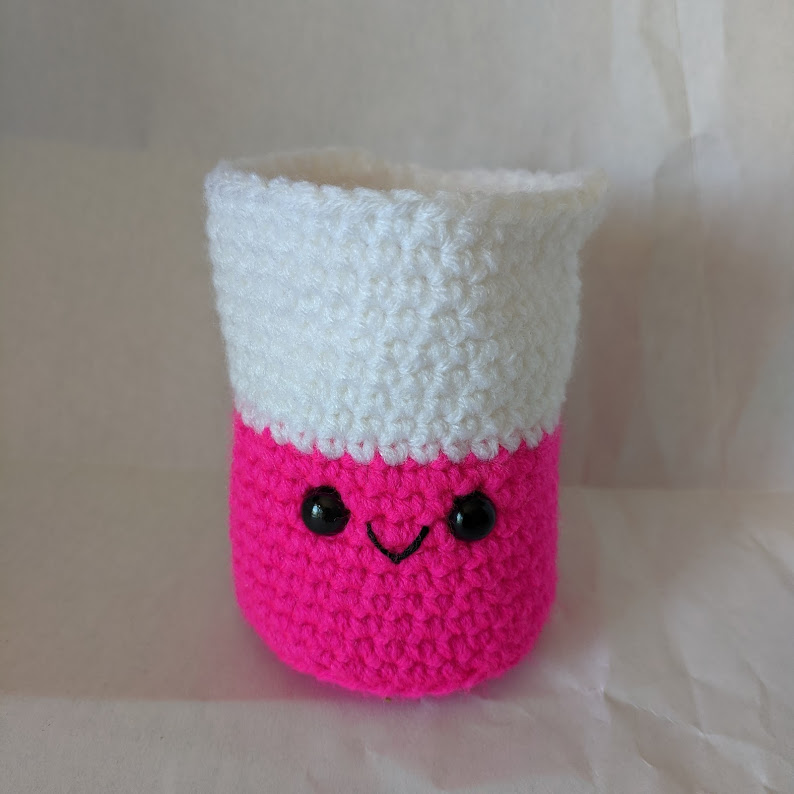
I tried the 2-strand method for a the cap to a new beaker (a bright pink one!) and it worked fairly well for a small item, but pulling from the outside and inside was pretty awkward so I needed a better method for larger items. I decided to make 2 cakes from the same yarn, but keep them connected. After much trial and error and frustration, for my Tivoli yarn I’ve found the best option is to wind the first cake from about 20 g using the outside strand and then switch to the center pull and wind the rest from there. You get two small center-pull cakes that can be used sitting side by side without tangling.
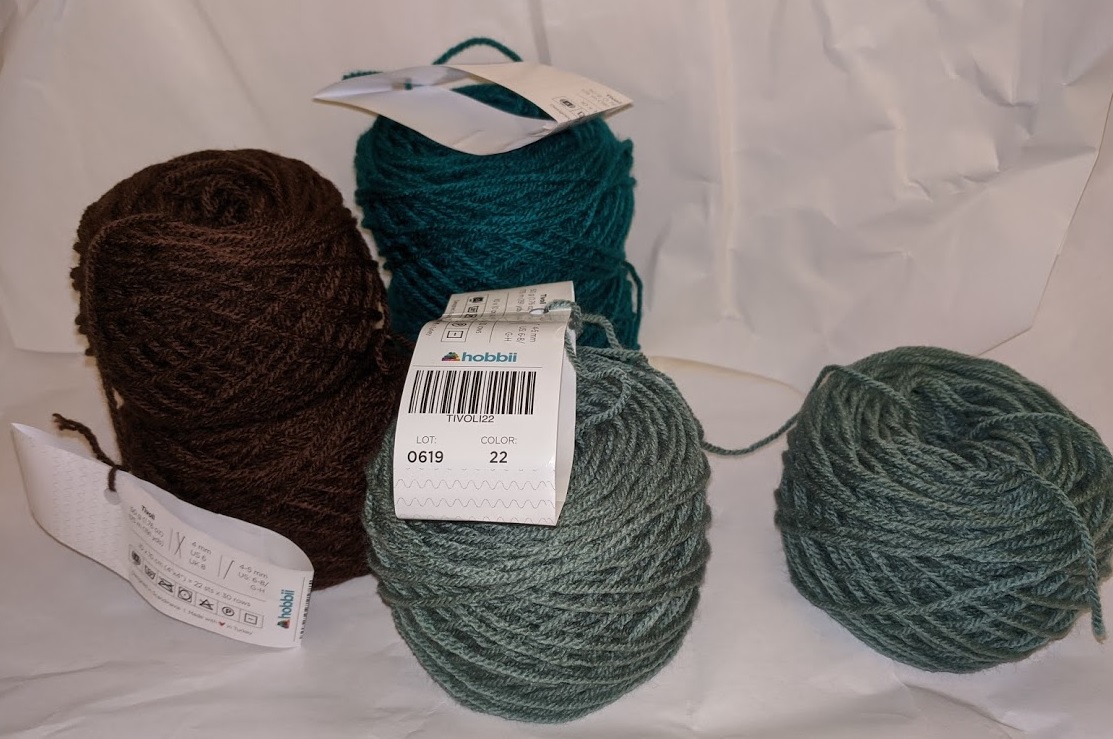
The amigurumis made with the 2-strand method of DK weight yarn are almost exactly the gauge and size the pattern specifies when using a worsted weight yarn. Yay! So I can make my amigurumis in normal size or in mini size at my discretion.
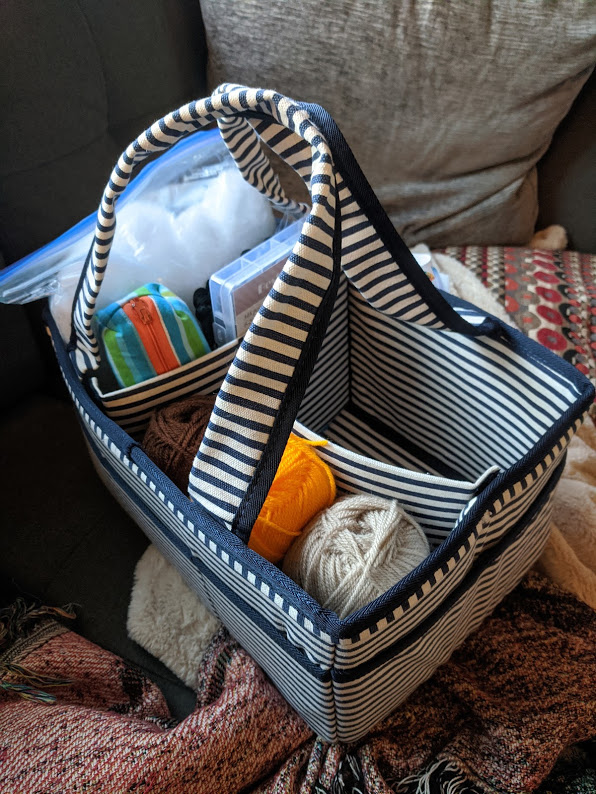
Once I’d figured this out I went all in. I finished the pink beaker, moved on to a green flask, tried a test tube, then another, then a Florence flask and another test tube! They went so smoothly, I could finish 2 (using the same colors) in about 2 hours in the afternoon. It was great. I even set up a little amigurumi set in by WIP (work in progress) basket. One of my pouches holds a small package of fiber-fill, my box of safety eyes and my sewing supplies. It makes amigurumi-making very convenient.
Once my chemistry set was almost done, I decided to attempt the Bunsen burner. It is by far the most difficult pattern of the set, with the flame being the most difficult piece. It took a few attempts, but I finally got it. I made a couple adjustments to the pattern, sewing the knob on before stuffing it and sewing the strip on the base instead of hot-gluing it. It managed to turn out fairly well. I packed up the set into a care package and dropped it off.
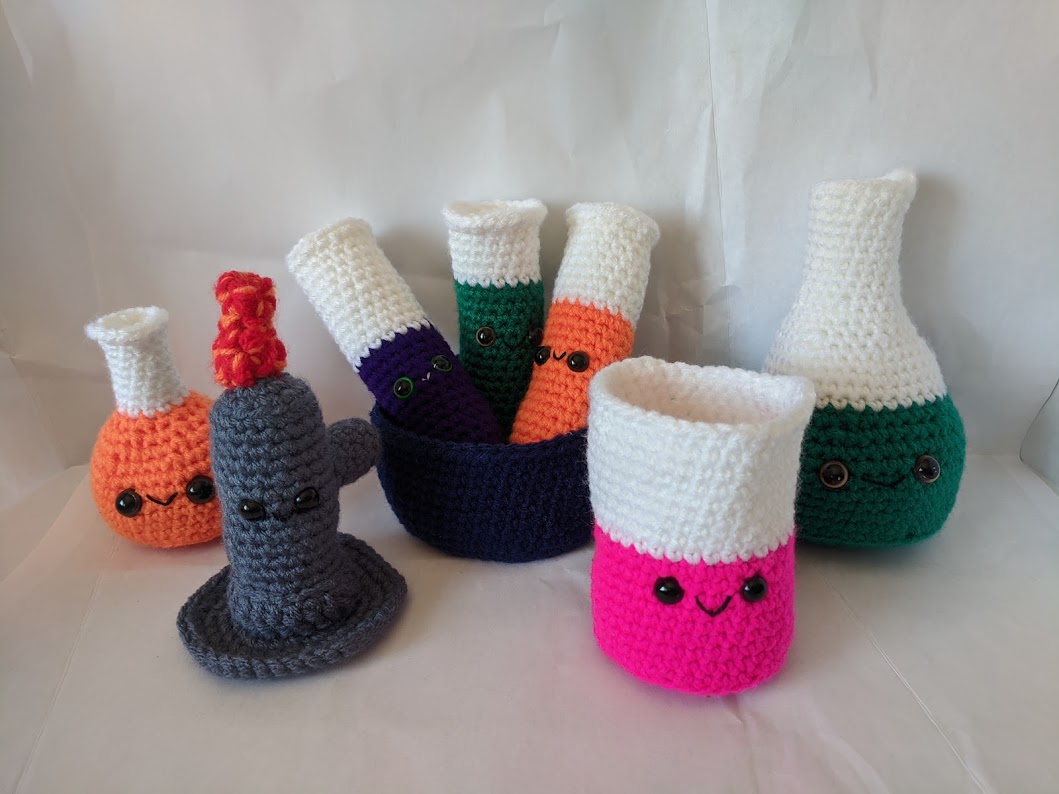
My first chemistry set is complete, but I think my amigurumi making experience is just beginning now. I still plan to make myself a full set in miniature for myself. Plus I’ve been browsing other cute patterns like little T-rexes, various fruits, and little Pokemon. I’m making another set of amigurumis for a second round of care packages already, which will be a separate post. I’m moving onto new works in progress, too, but I’m going to keep my amigurumi set in my WIP basket so I’m all set for future patterns!
