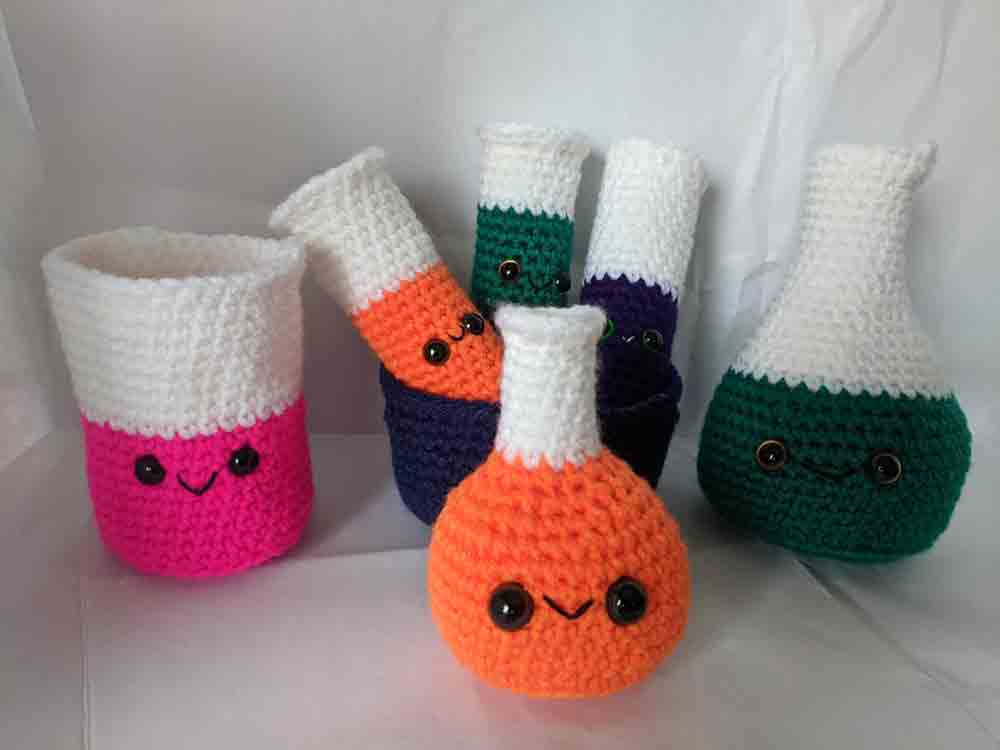
I have very dry skin. Dry to the point that I was diagnosed with very mild dermatitis at one point, though I only needed a soothing off-the-shelf cream to clear it up. But my feet, my elbows, and with all the extra hand-washing from the coronavirus now my hands are all horribly dry. I’ve also been doing a lot of crocheting, which can dry out my hands, too, but also makes it so I don’t want to use a cream-based lotion because it feels strange when I crochet.
So I started looking into lotion bars. With a bar, you get the hydration of a lotion but without the strange feel when you work with yarn. I found one I liked (Bee Bar Lotion from Honey House Naturals in vanilla), but after using for a while I realized it had almond oil and coconut oil, both of which are allergens, making it hard to share with friends. I started looking for nut-free lotion bars, but most of those were palm-oil based, and right now there’s a lot of unethically produced palm oil so I wanted to stay away from that.

While looking for nut-free and palm-free lotion bars, I found one I thought was perfect! Four ingredients, no palm, no nuts, no allergens of any kind, and honey scented. But what I thought was a wonderful lotion bar actually turned out to be a recipe to make your own and a link to a place to buy the ingredients! At the time, I wasn’t really keen to make my own lotion bar, so I kept looking. But after a couple months of no good results I was starting to run out of my bee bar. I considered buying another, but at almost $15 for a 2 oz bar it was just too much.
I went back to the Brambleberry site where I found the lotion bar recipe and ingredients and priced out how much it would cost to make my own. I realized that for the price of about 5 of the Bee Bars, I could get not only the ingredients, but also the necessary equipment, to make 16 of my own 2.5 oz bars! I could even get some waxed paper and cute stickers to wrap them up for storage. Unfortunately, tins to store them are hard to find, but the Bee Bar tin is reusable. It looked like making my own was going to be my best option!
So, I ordered the ingredients, plus a hexagonal mold and measuring cup and spatula for heating and mixing. And they showed up on Monday. I washed out my equipment and set things up, re-read my recipe, and did it!

The whole process ended up being easier than I thought. I weighed out my ingredients using coffee filters as weigh-papers. There was some heating in the microwave, lots of stirring, lots of awkward pot-holder-holding. Eventually I had a clear, yellow liquid, which I poured into molds. That part will need some practice, as I wasn’t quite sure how full to fill them, and in my first try they didn’t come out quite equal. Next time.
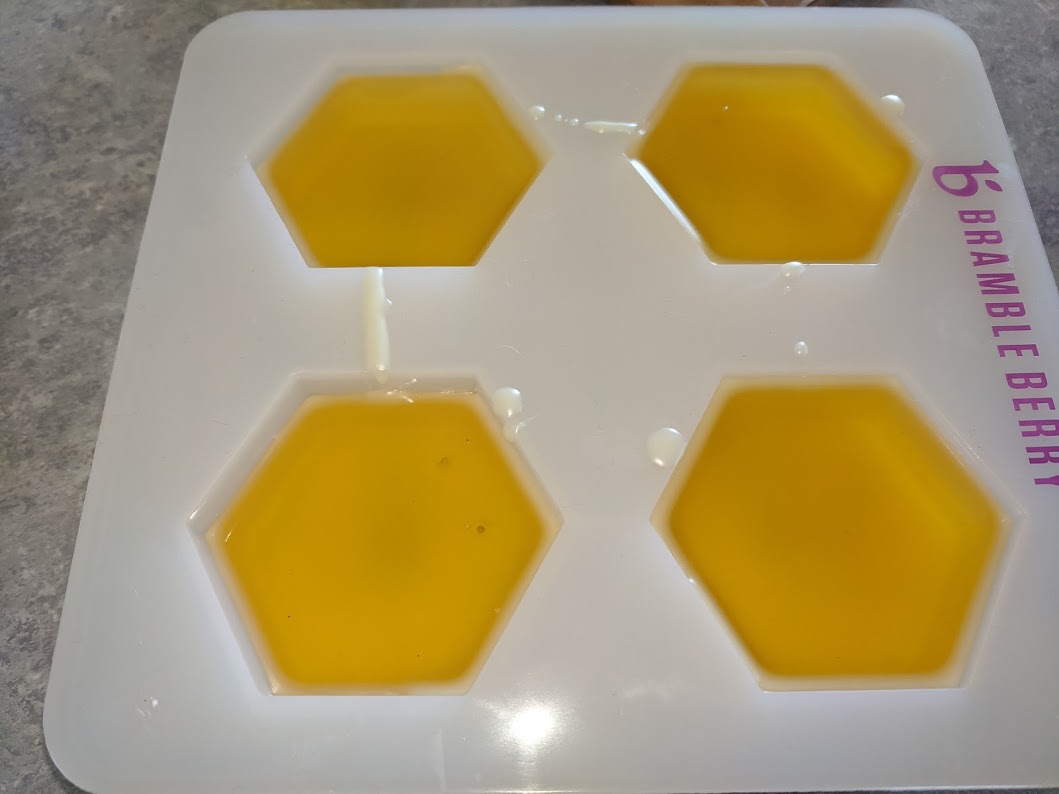
The bars took a surprisingly short time to harden. Actually, I noticed some bubbles as I was pouring them and by the time I pulled out a skewer to try to pull out the bubbles I realized that my skewer had a layer of hardened lotion on it and I was making marks on the top of the lotion bar. Next time I’ll have to pour more carefully to just avoid bubbles altogether. I let them sit for about 45 minutes until they were opaque, then I gently pushed them up from the mold.
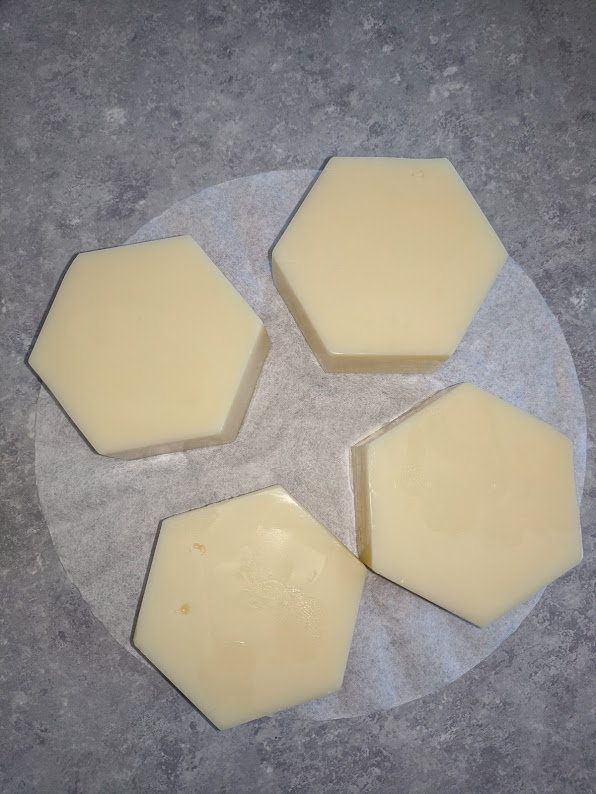
They came out smoothly but were still warm, so I popped them in the freezer while I worked out how to wrap and store them. I wrapped the smallest one up in a coffee filter and it looked cute, but it just barely fit. But I had originally bought gold colored waxed florist’s paper to wrap them in. The gold paper came in giant sheets, so I was thinking of cutting it in circles the size of the coffee filter except bigger, but then I realized my trivet was the perfect size! So I cut trivet-sized circles from the gold paper, attempted a neat folding (failed miserably at folding neatly, but that will come with practice), and sealed them with cute stickers.
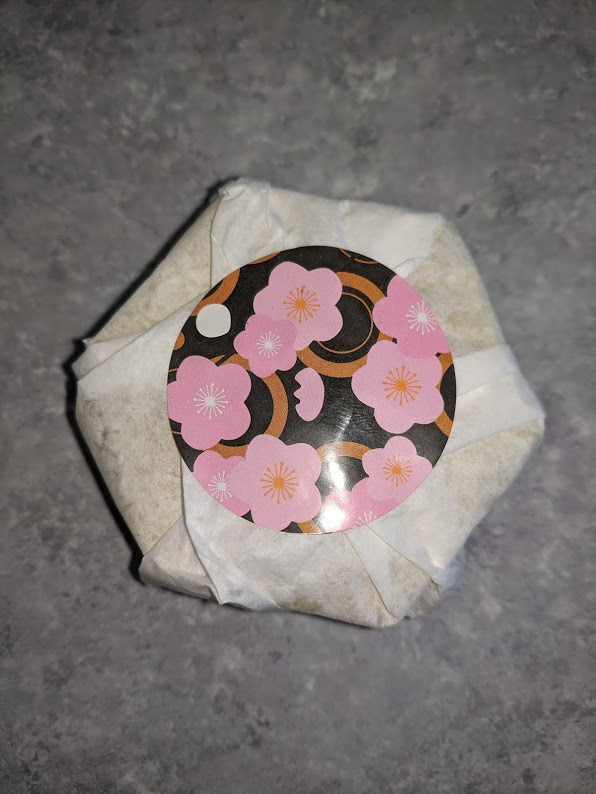
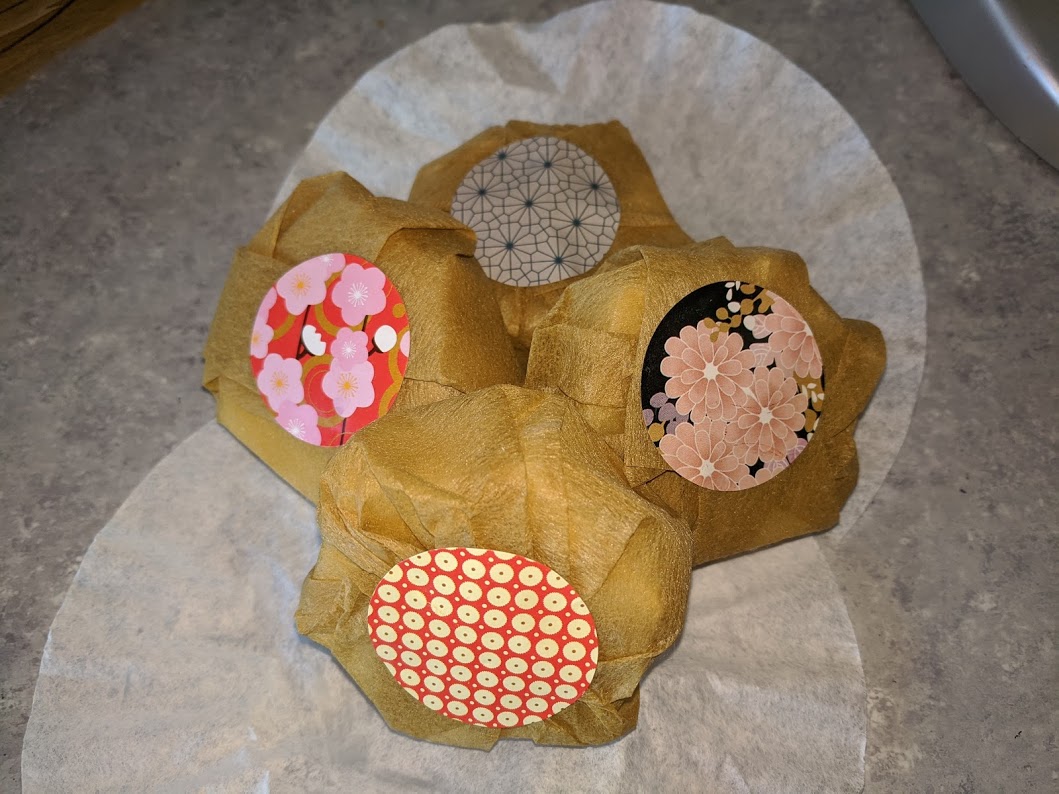
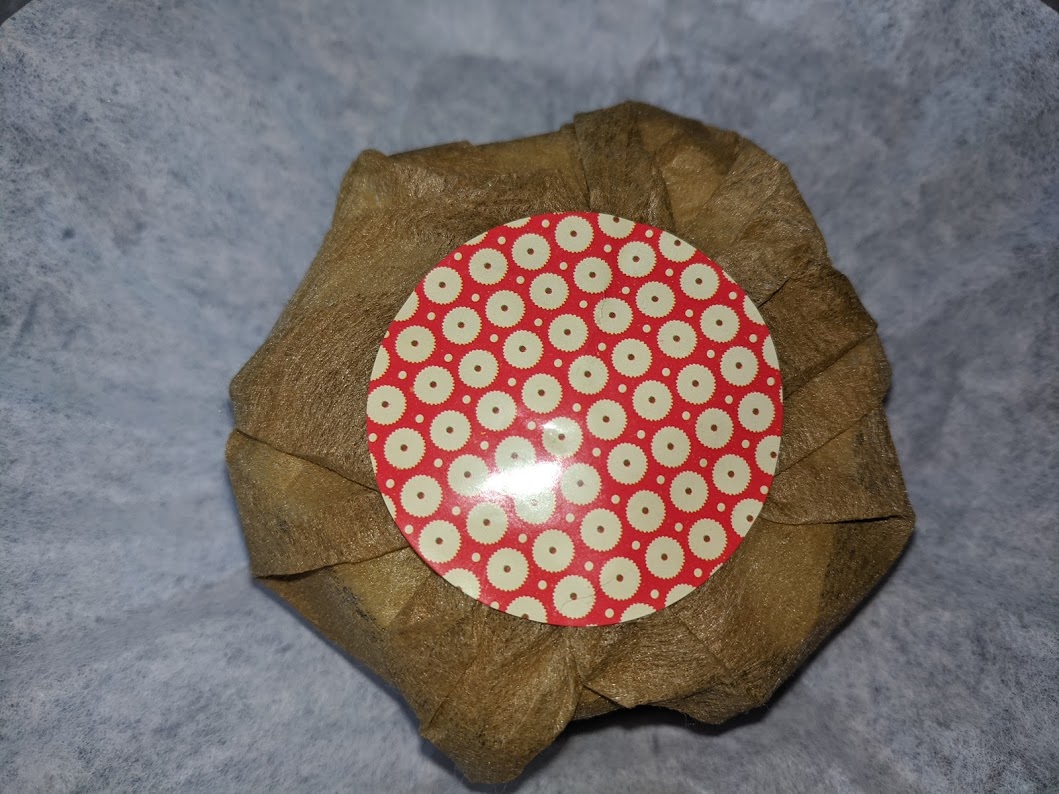
They’re now hanging out in an empty frosting can in the freezer waiting to become pretty, useful, homemade presents! Yay!
And tomorrow I plan to make 2 more batches before packing up the supplies. They’re so much easier than I expected! I’m sure I’ll be ordering more supplies and making more in the future!
If you want to make your own lotion bars, try the Beeswax and Honey Lotion Bars recipe from Brambleberry.
